User Guide
On this page
User login
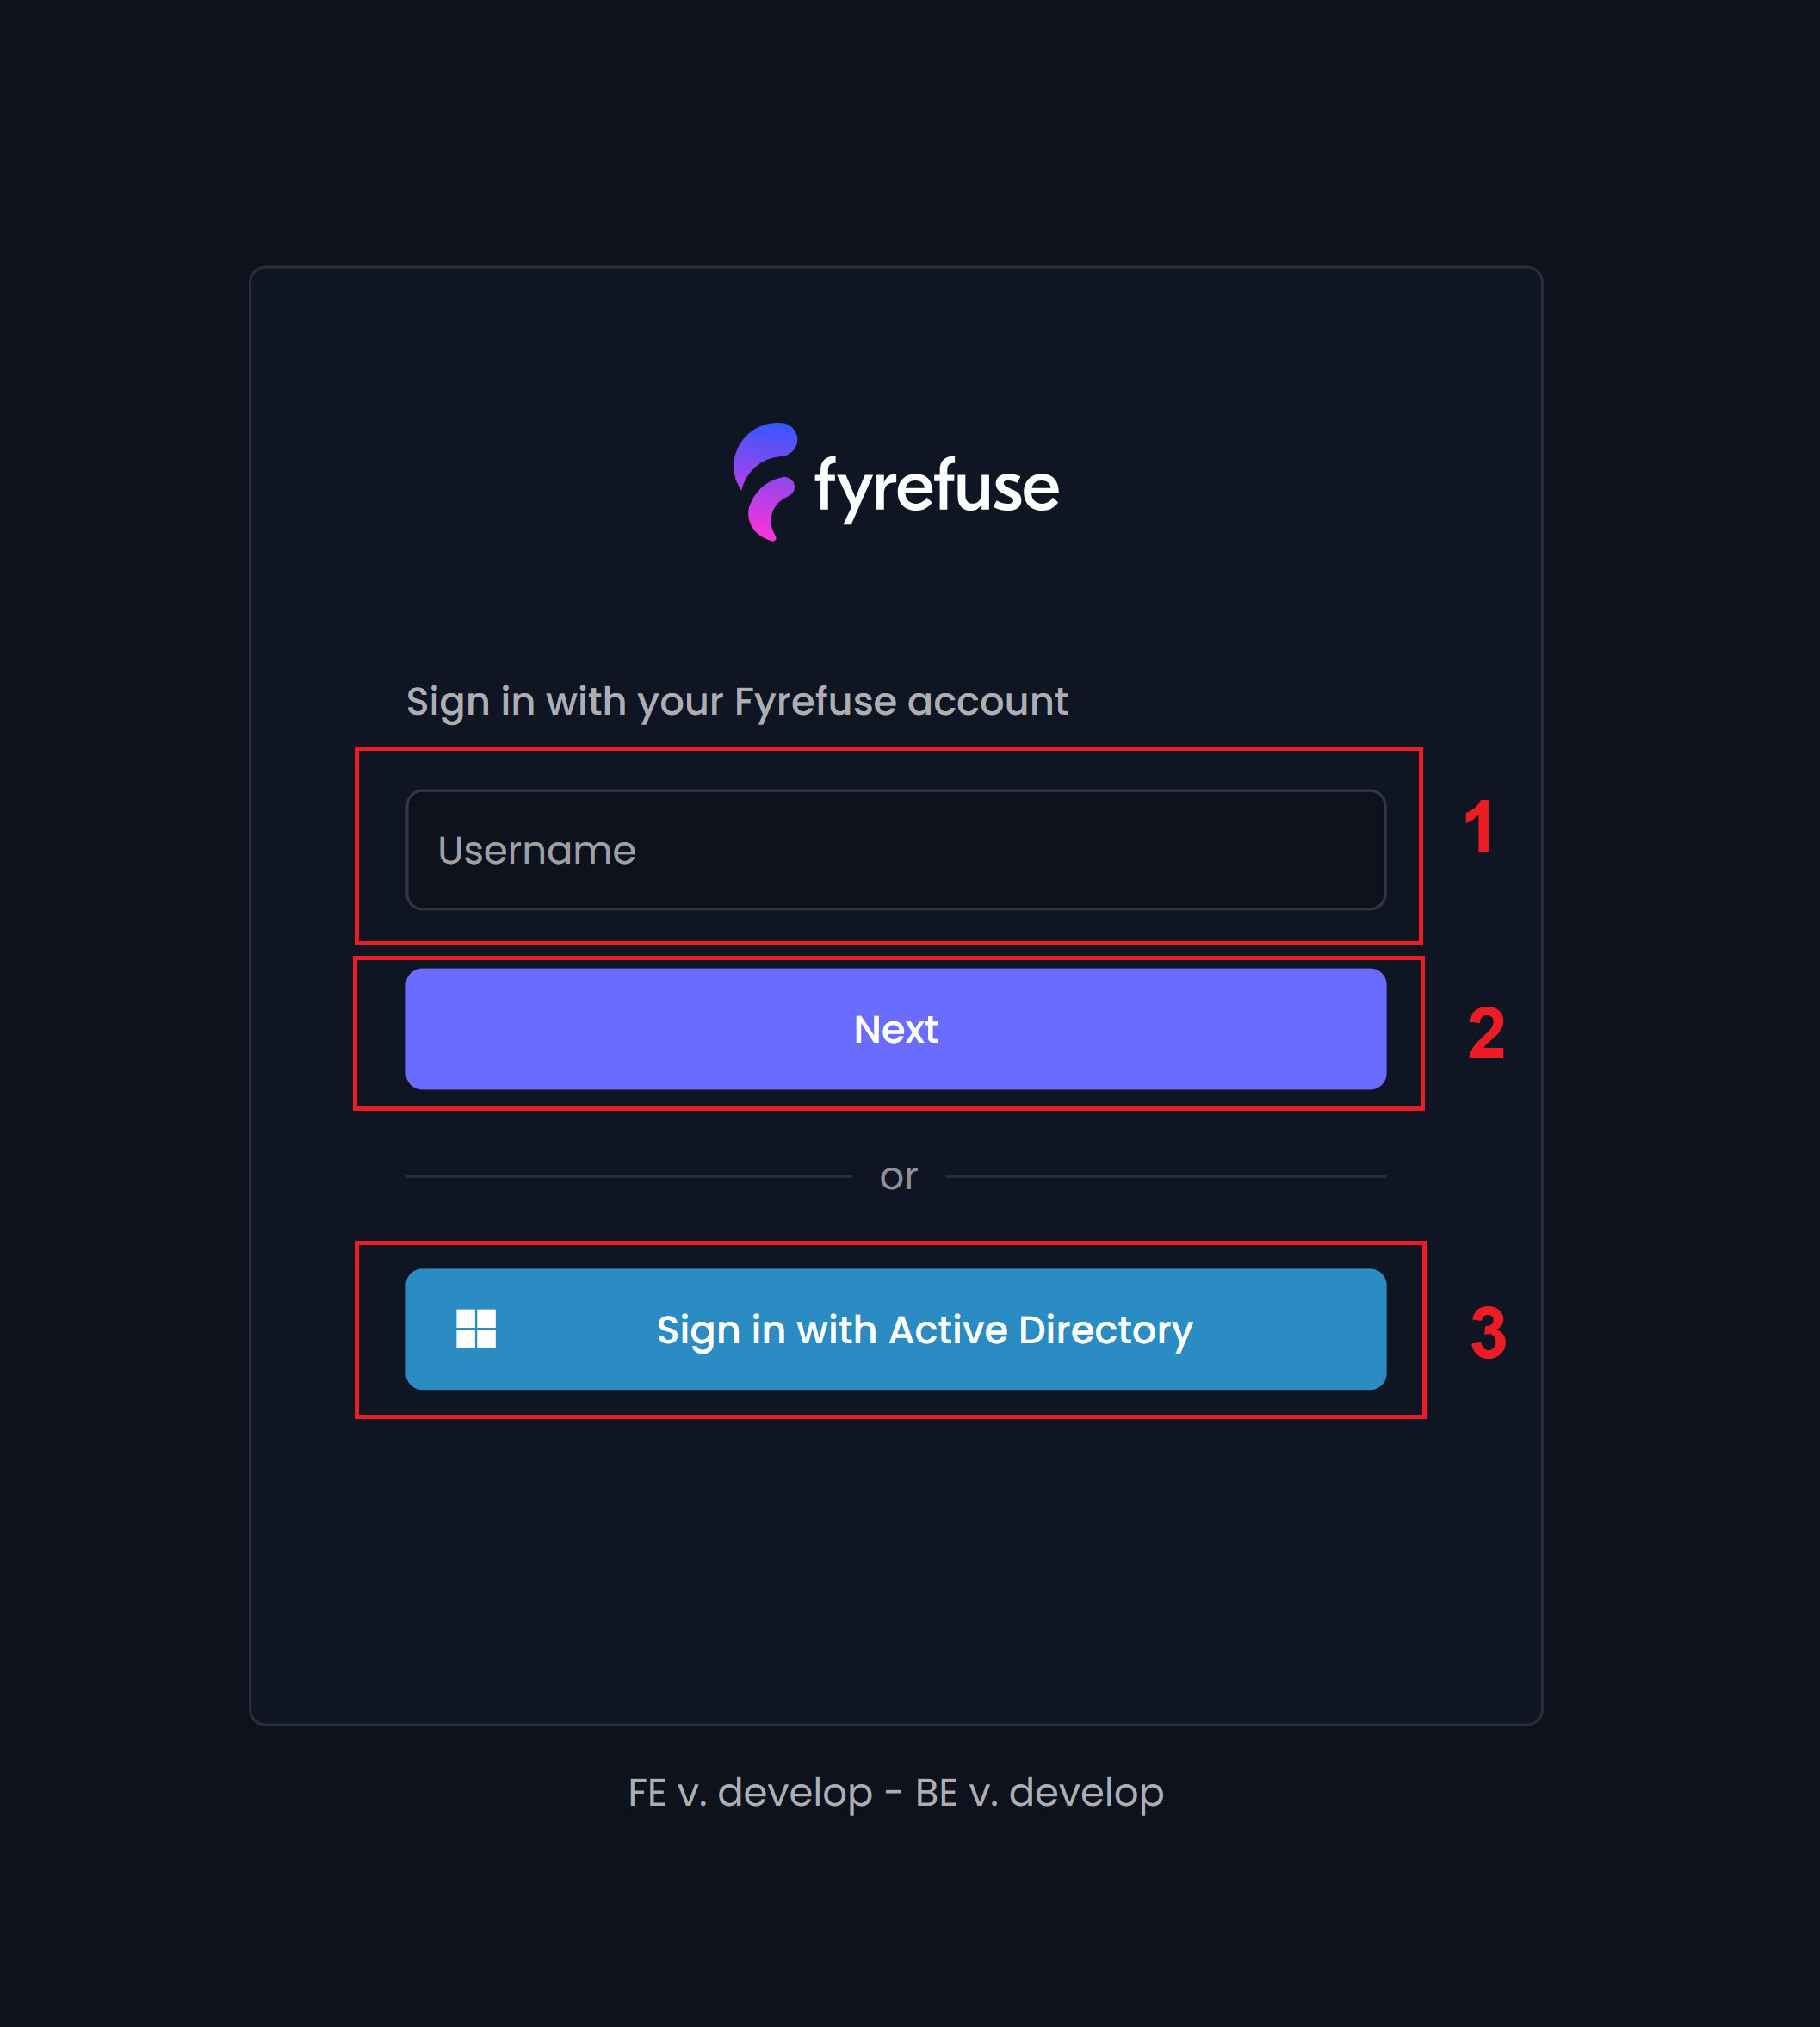
By opening any internet browser and typing the URL on the browser’s address bar, you will land on Fyrefuse Login page
The Login page allows users to securely access the Fyrefuse either by entering their username (1) and clicking “Next” (2) or using third-party identity providers (3).
Login with credentials
Enter your username (1) and click on “Next” (2).
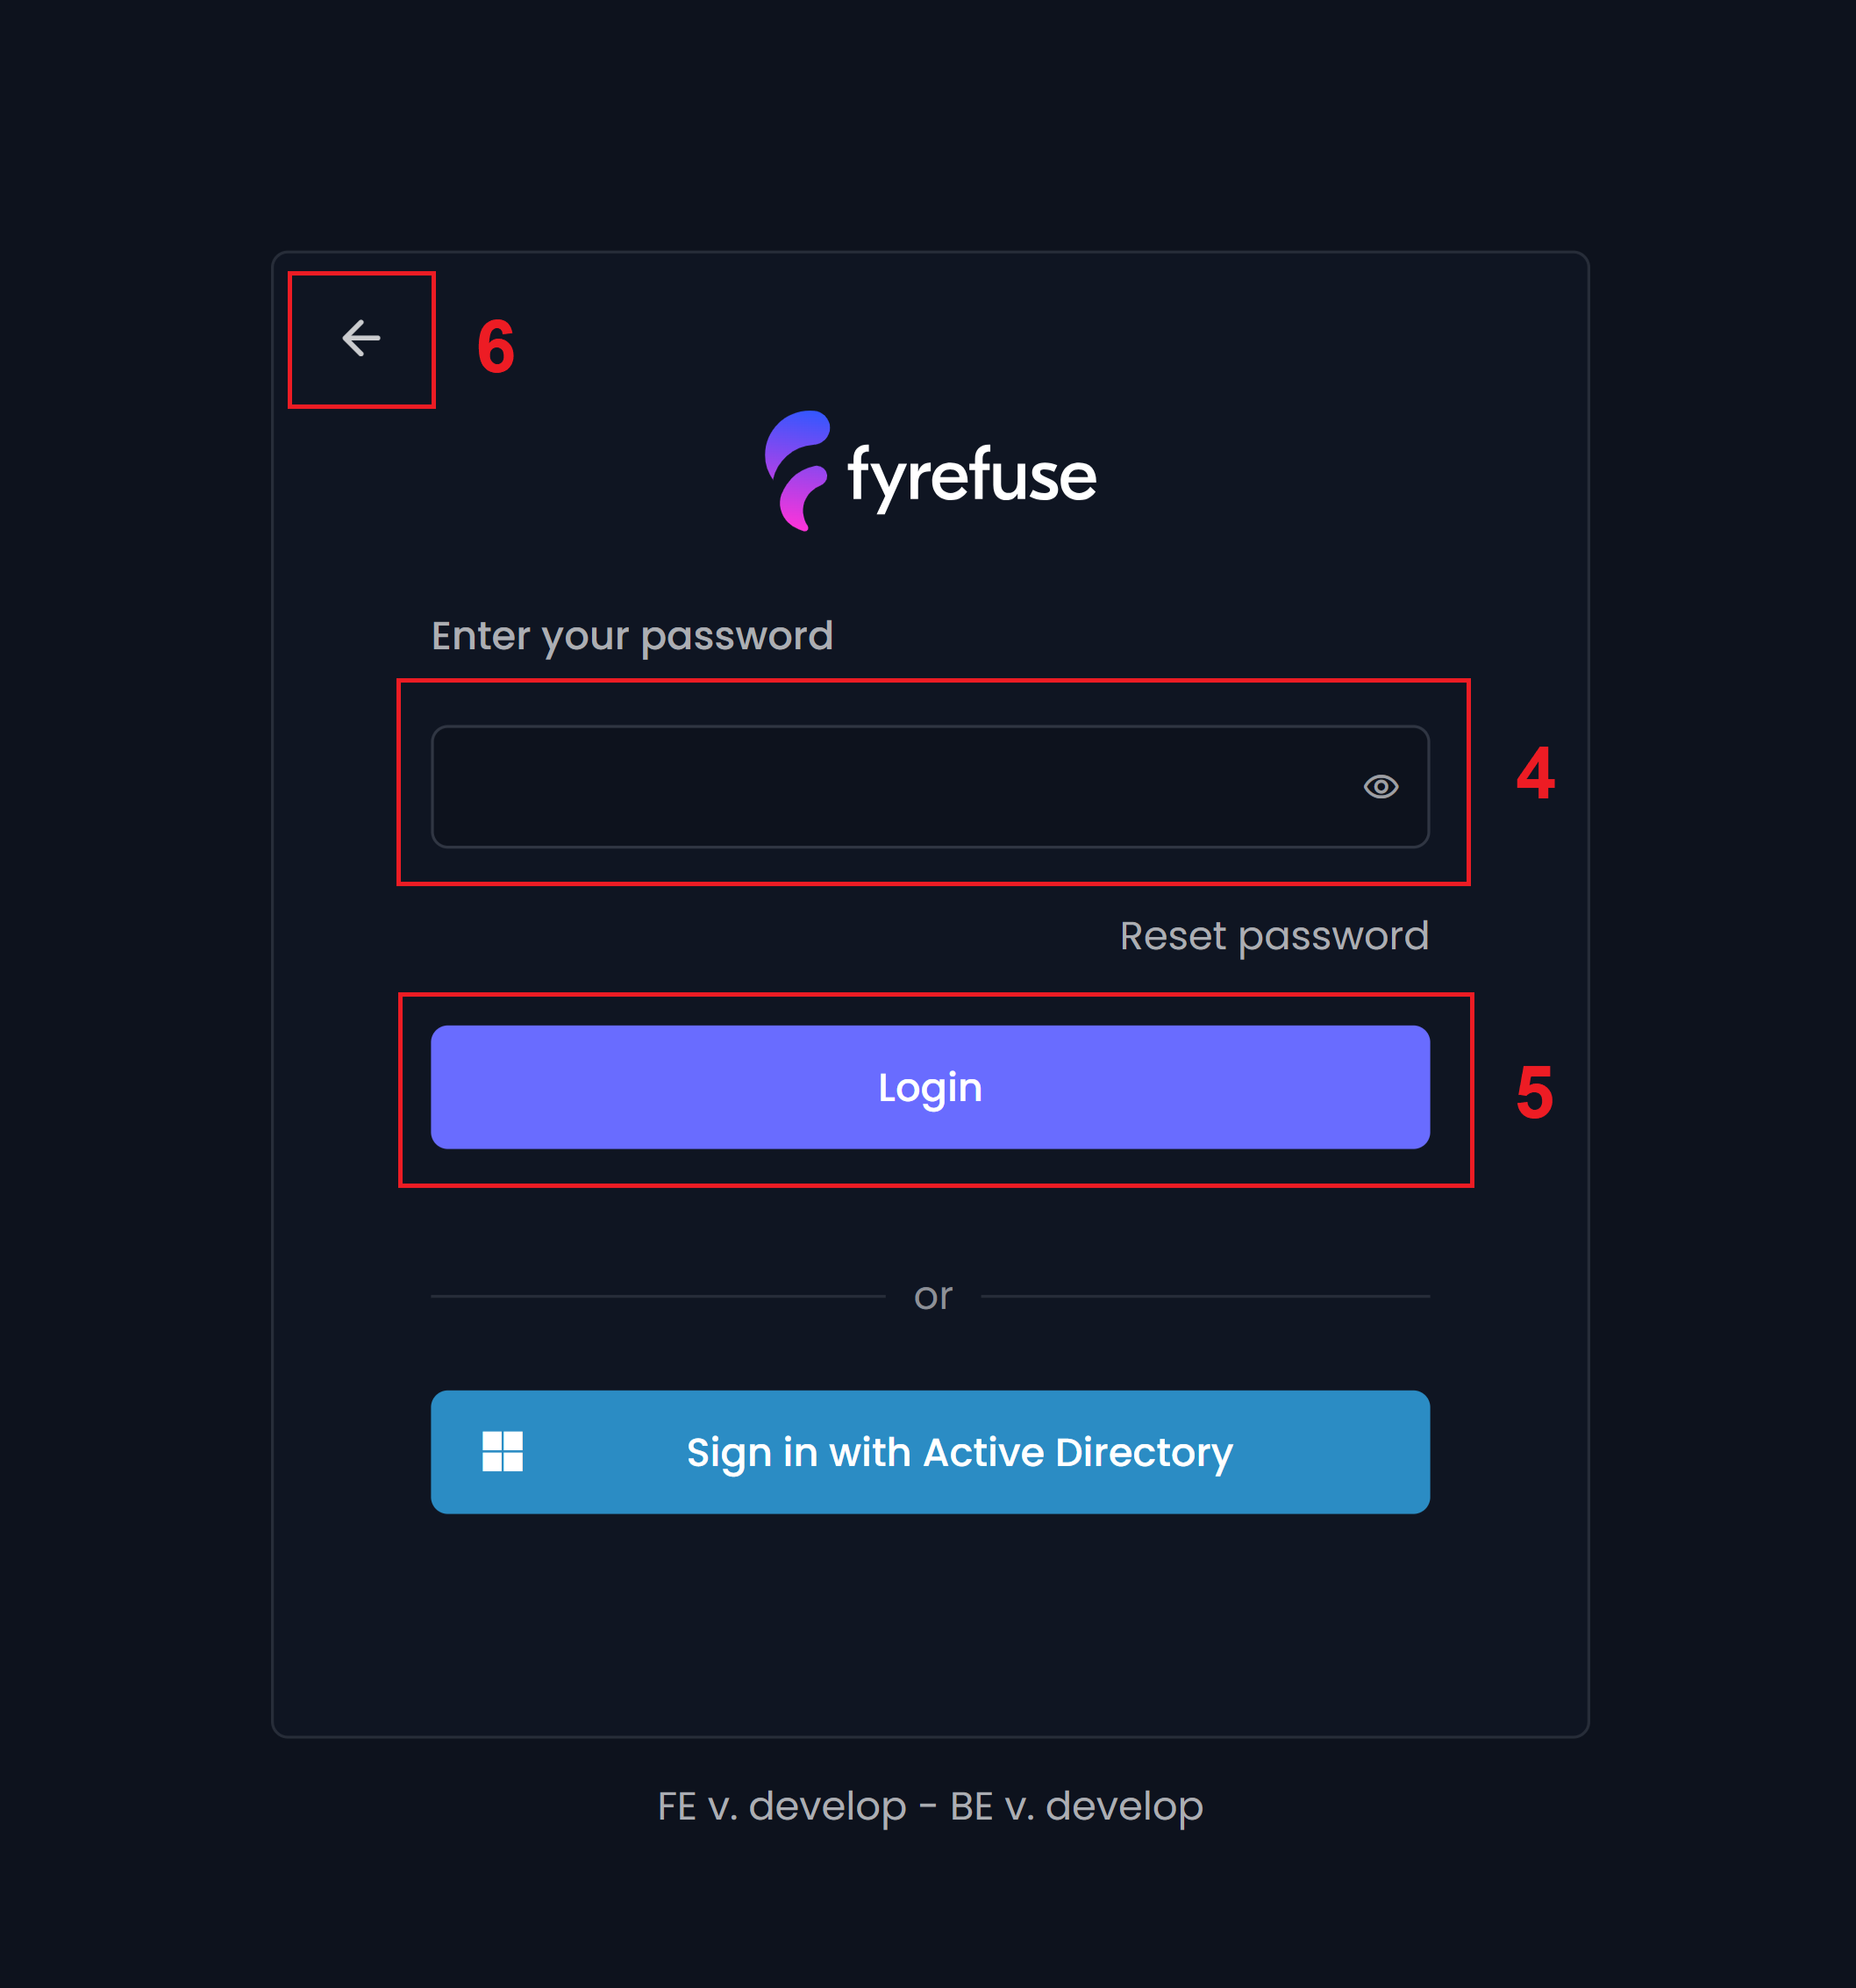
The next step would be entering your password (4) and clicking “Login” (5). In case you want to change username, you can always go back (6)
Login with third-party authentication
If you prefer to log in using a third-party account, just click on one of the available options below—like Active Directory.
Setup user preferences
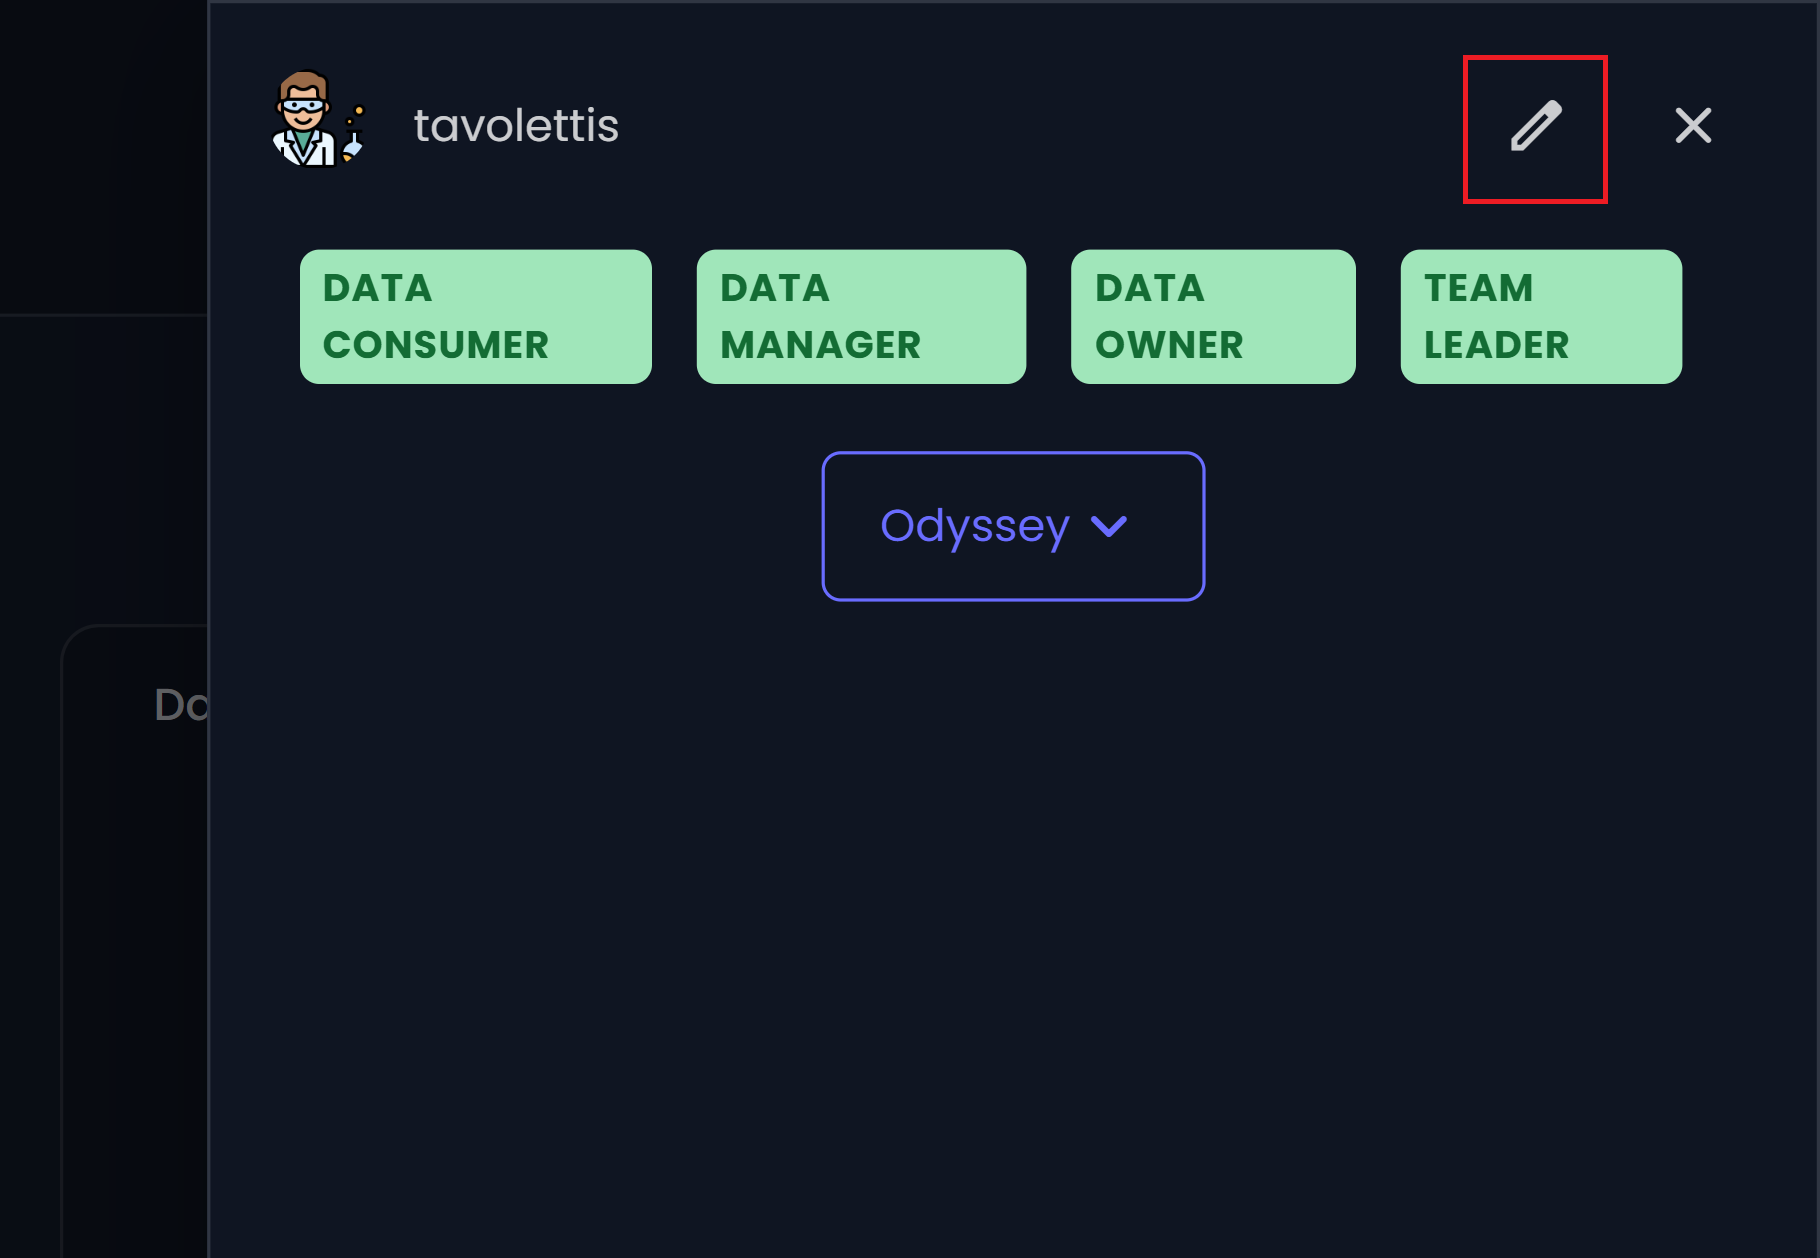
After logging in, you can personalize your experience by clicking on the profile image, then selecting the “pen” to edit and set up your preferences.

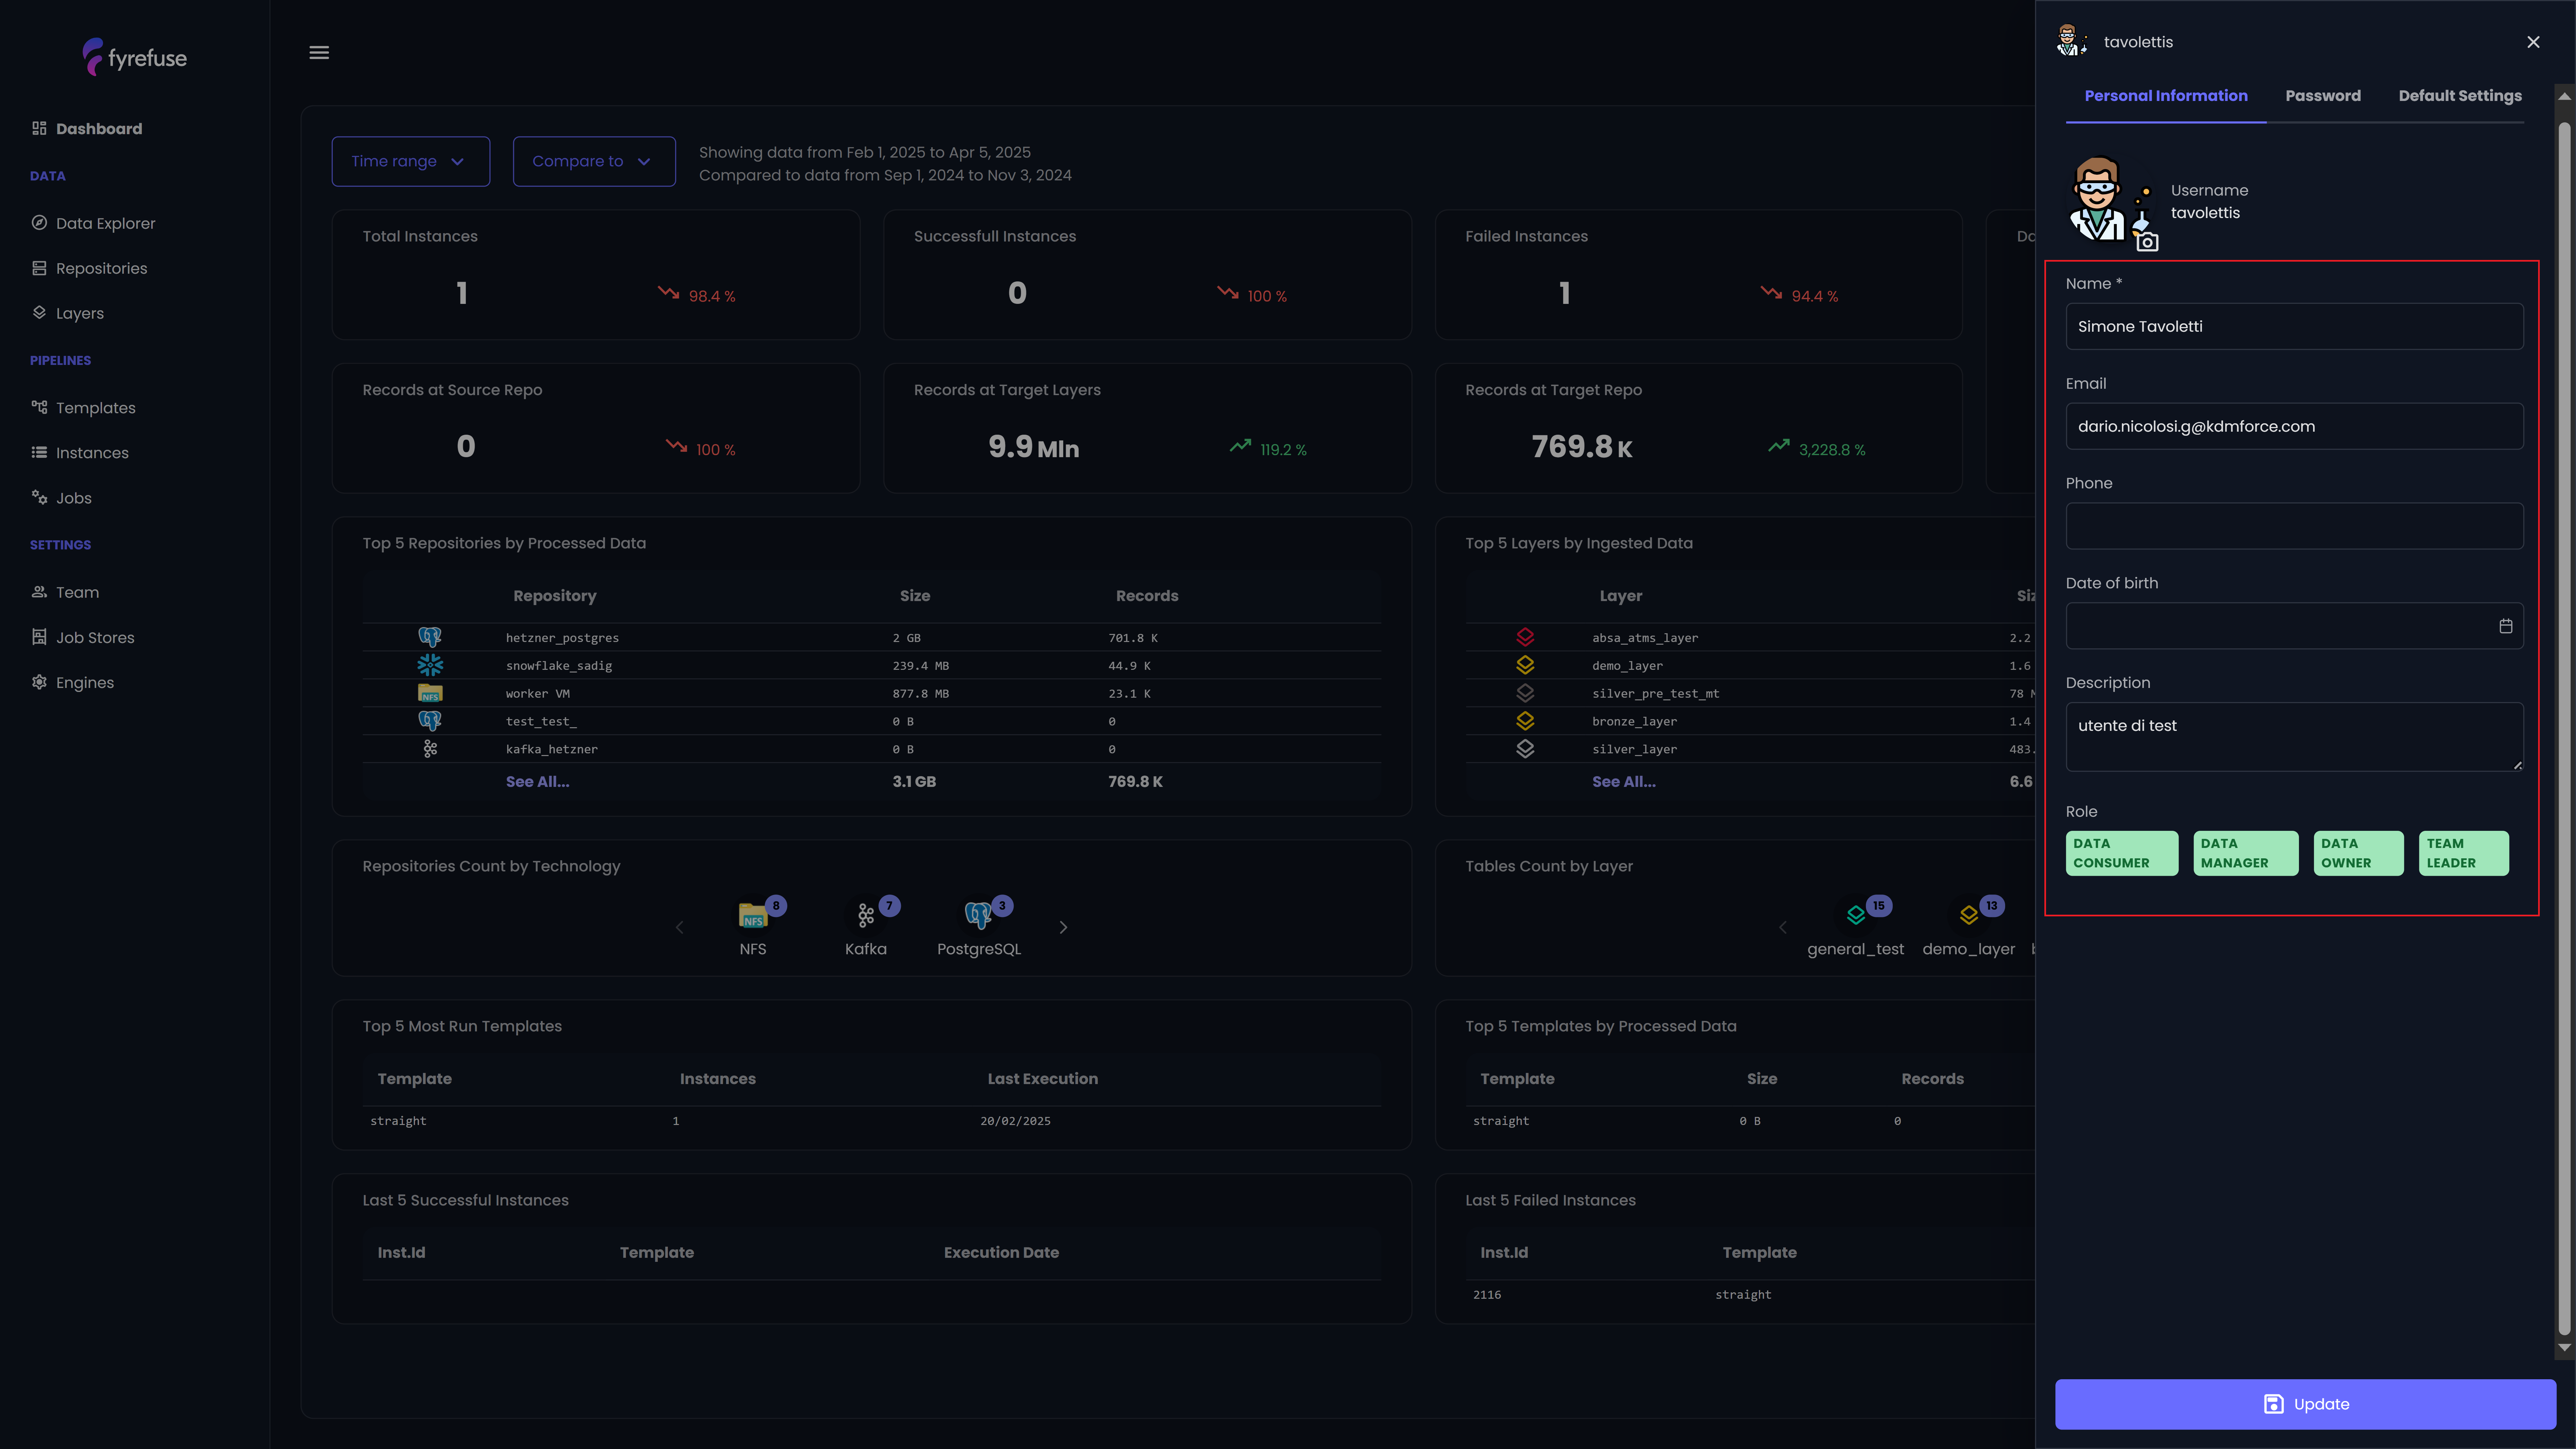
1. Personal Information
Here, you can update basic details like your name, email, date of birth, and a short description about yourself. You’ll also see your assigned roles, but only an admin can make changes to those.
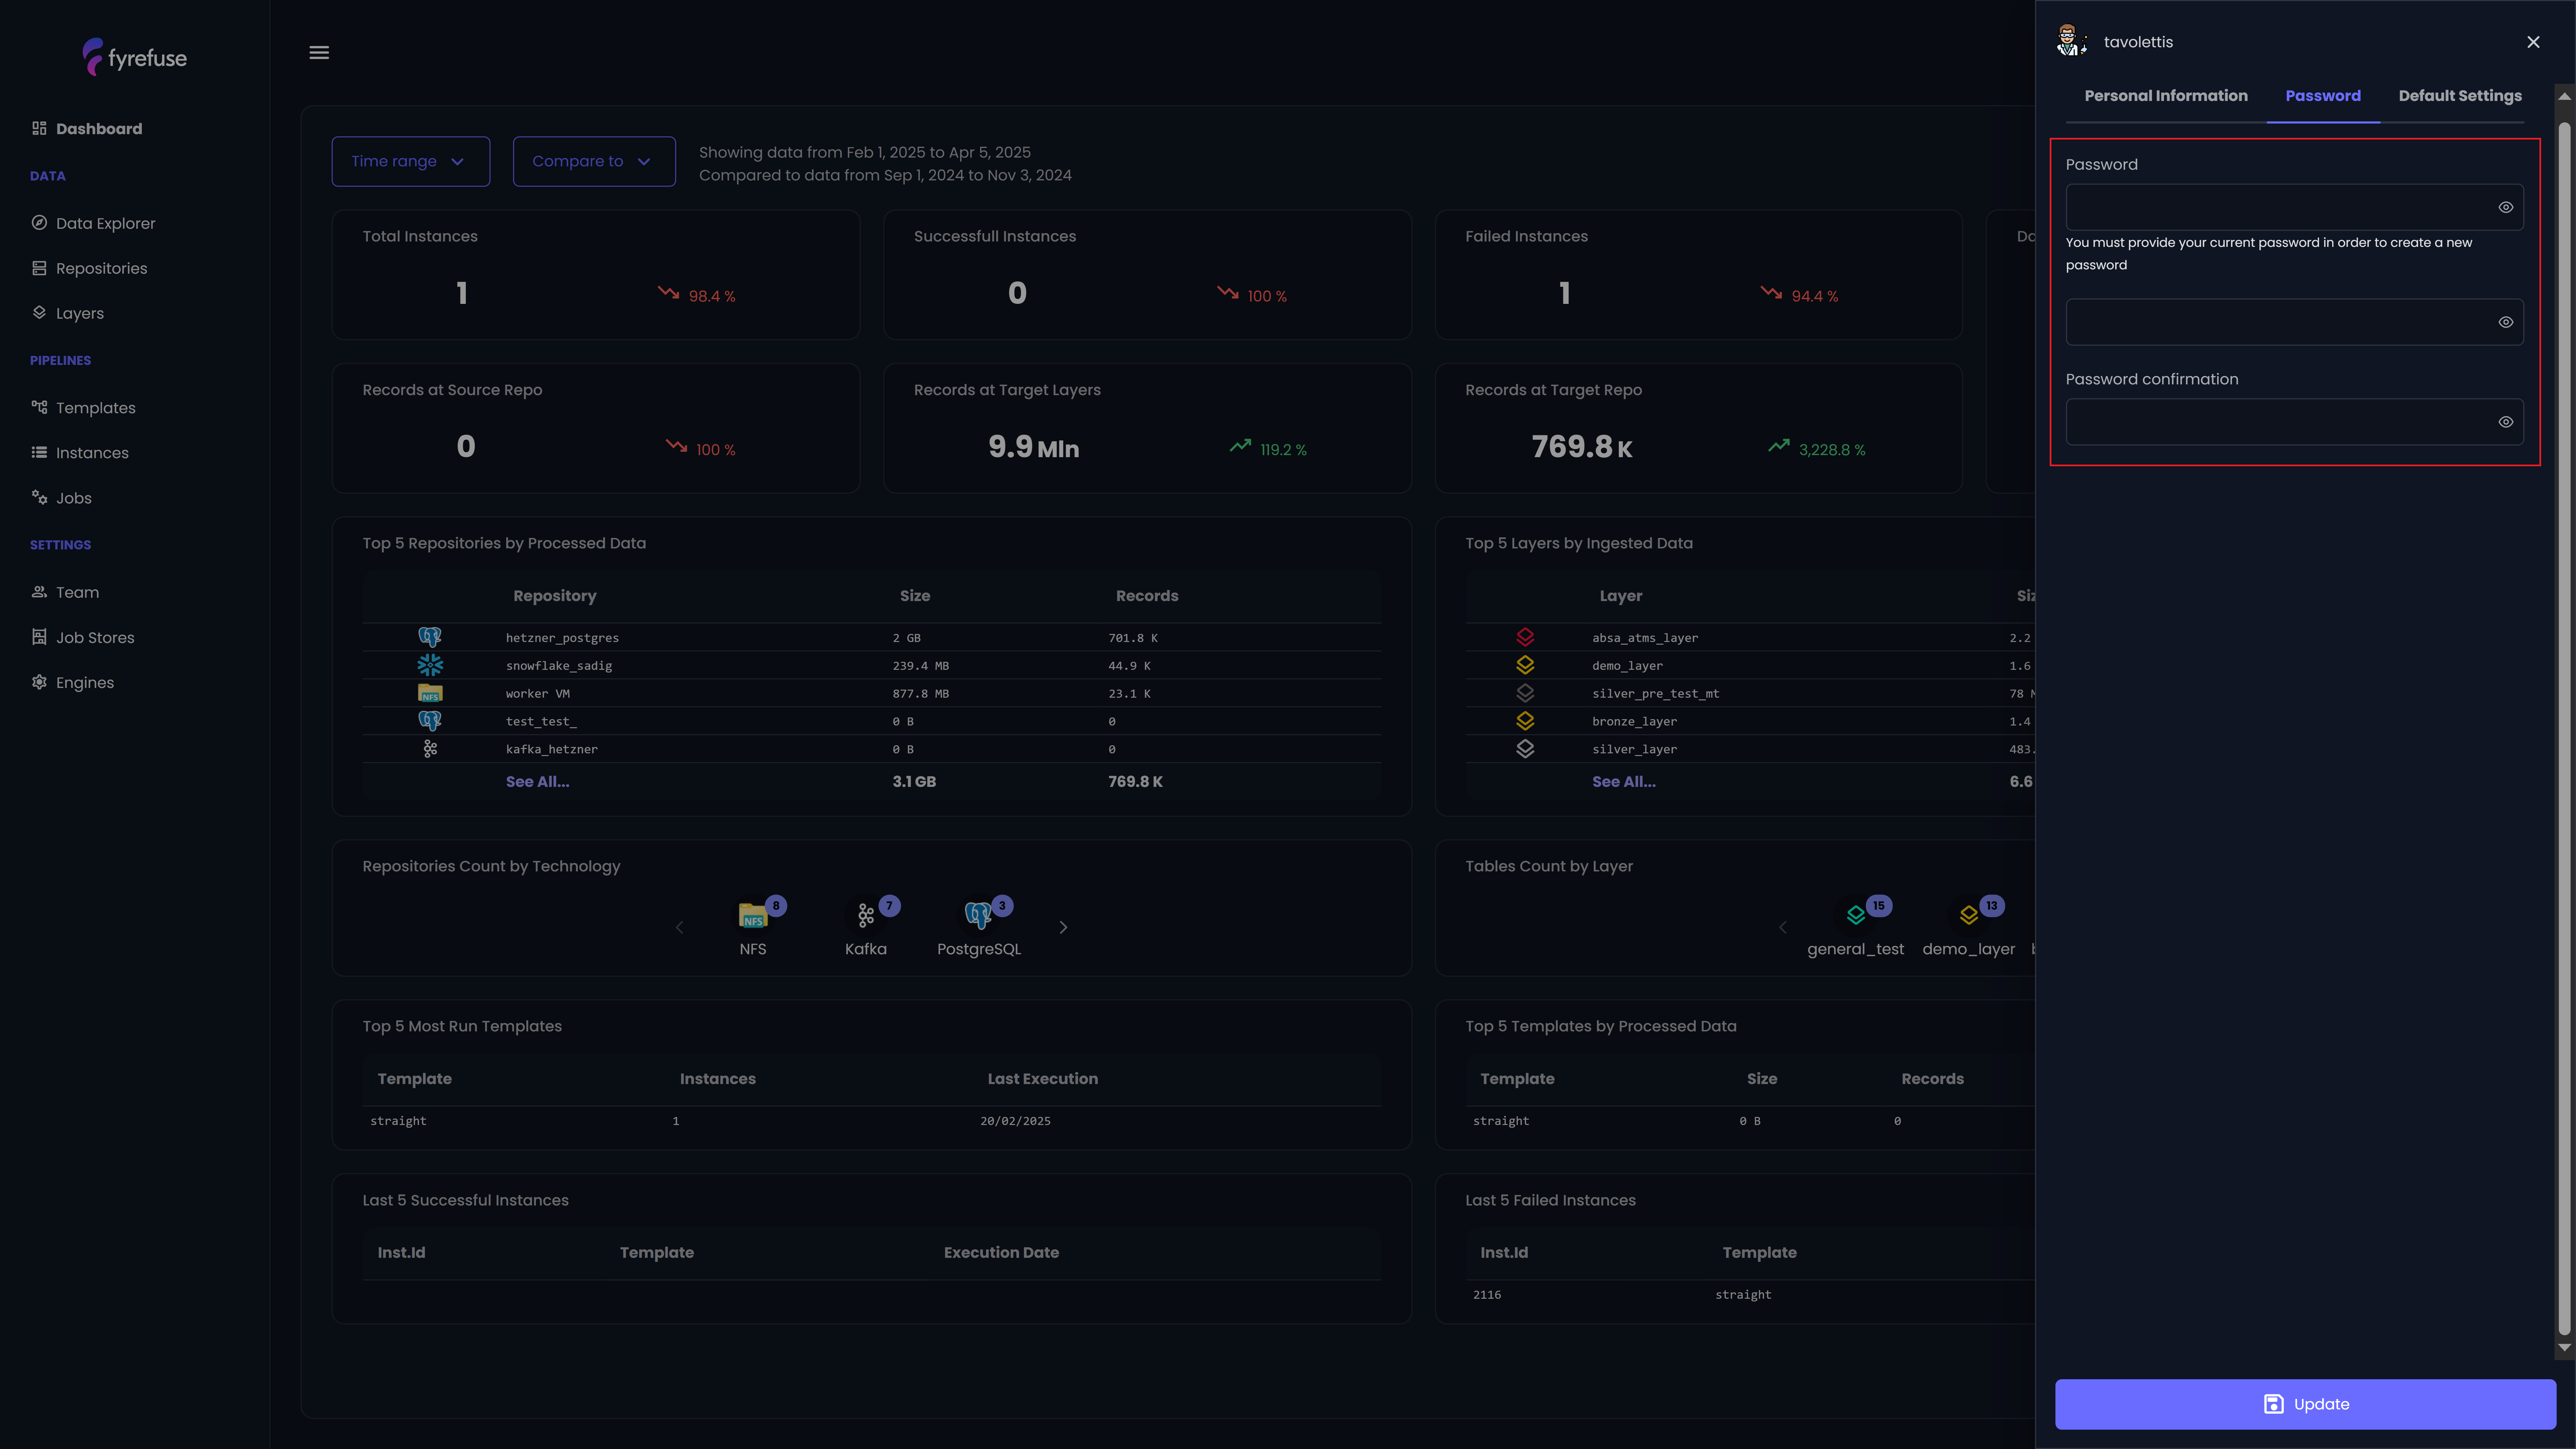
2. Password
Here, you can update basic details like your name, email, date of birth, and a short description about yourself. You’ll also see your assigned roles, but only an admin can make changes to those.
3. Default setting
The Default Settings tab allows you to configure your account’s general preferences to personalize your experience on the platform. Below is a breakdown of each available setting and its function:
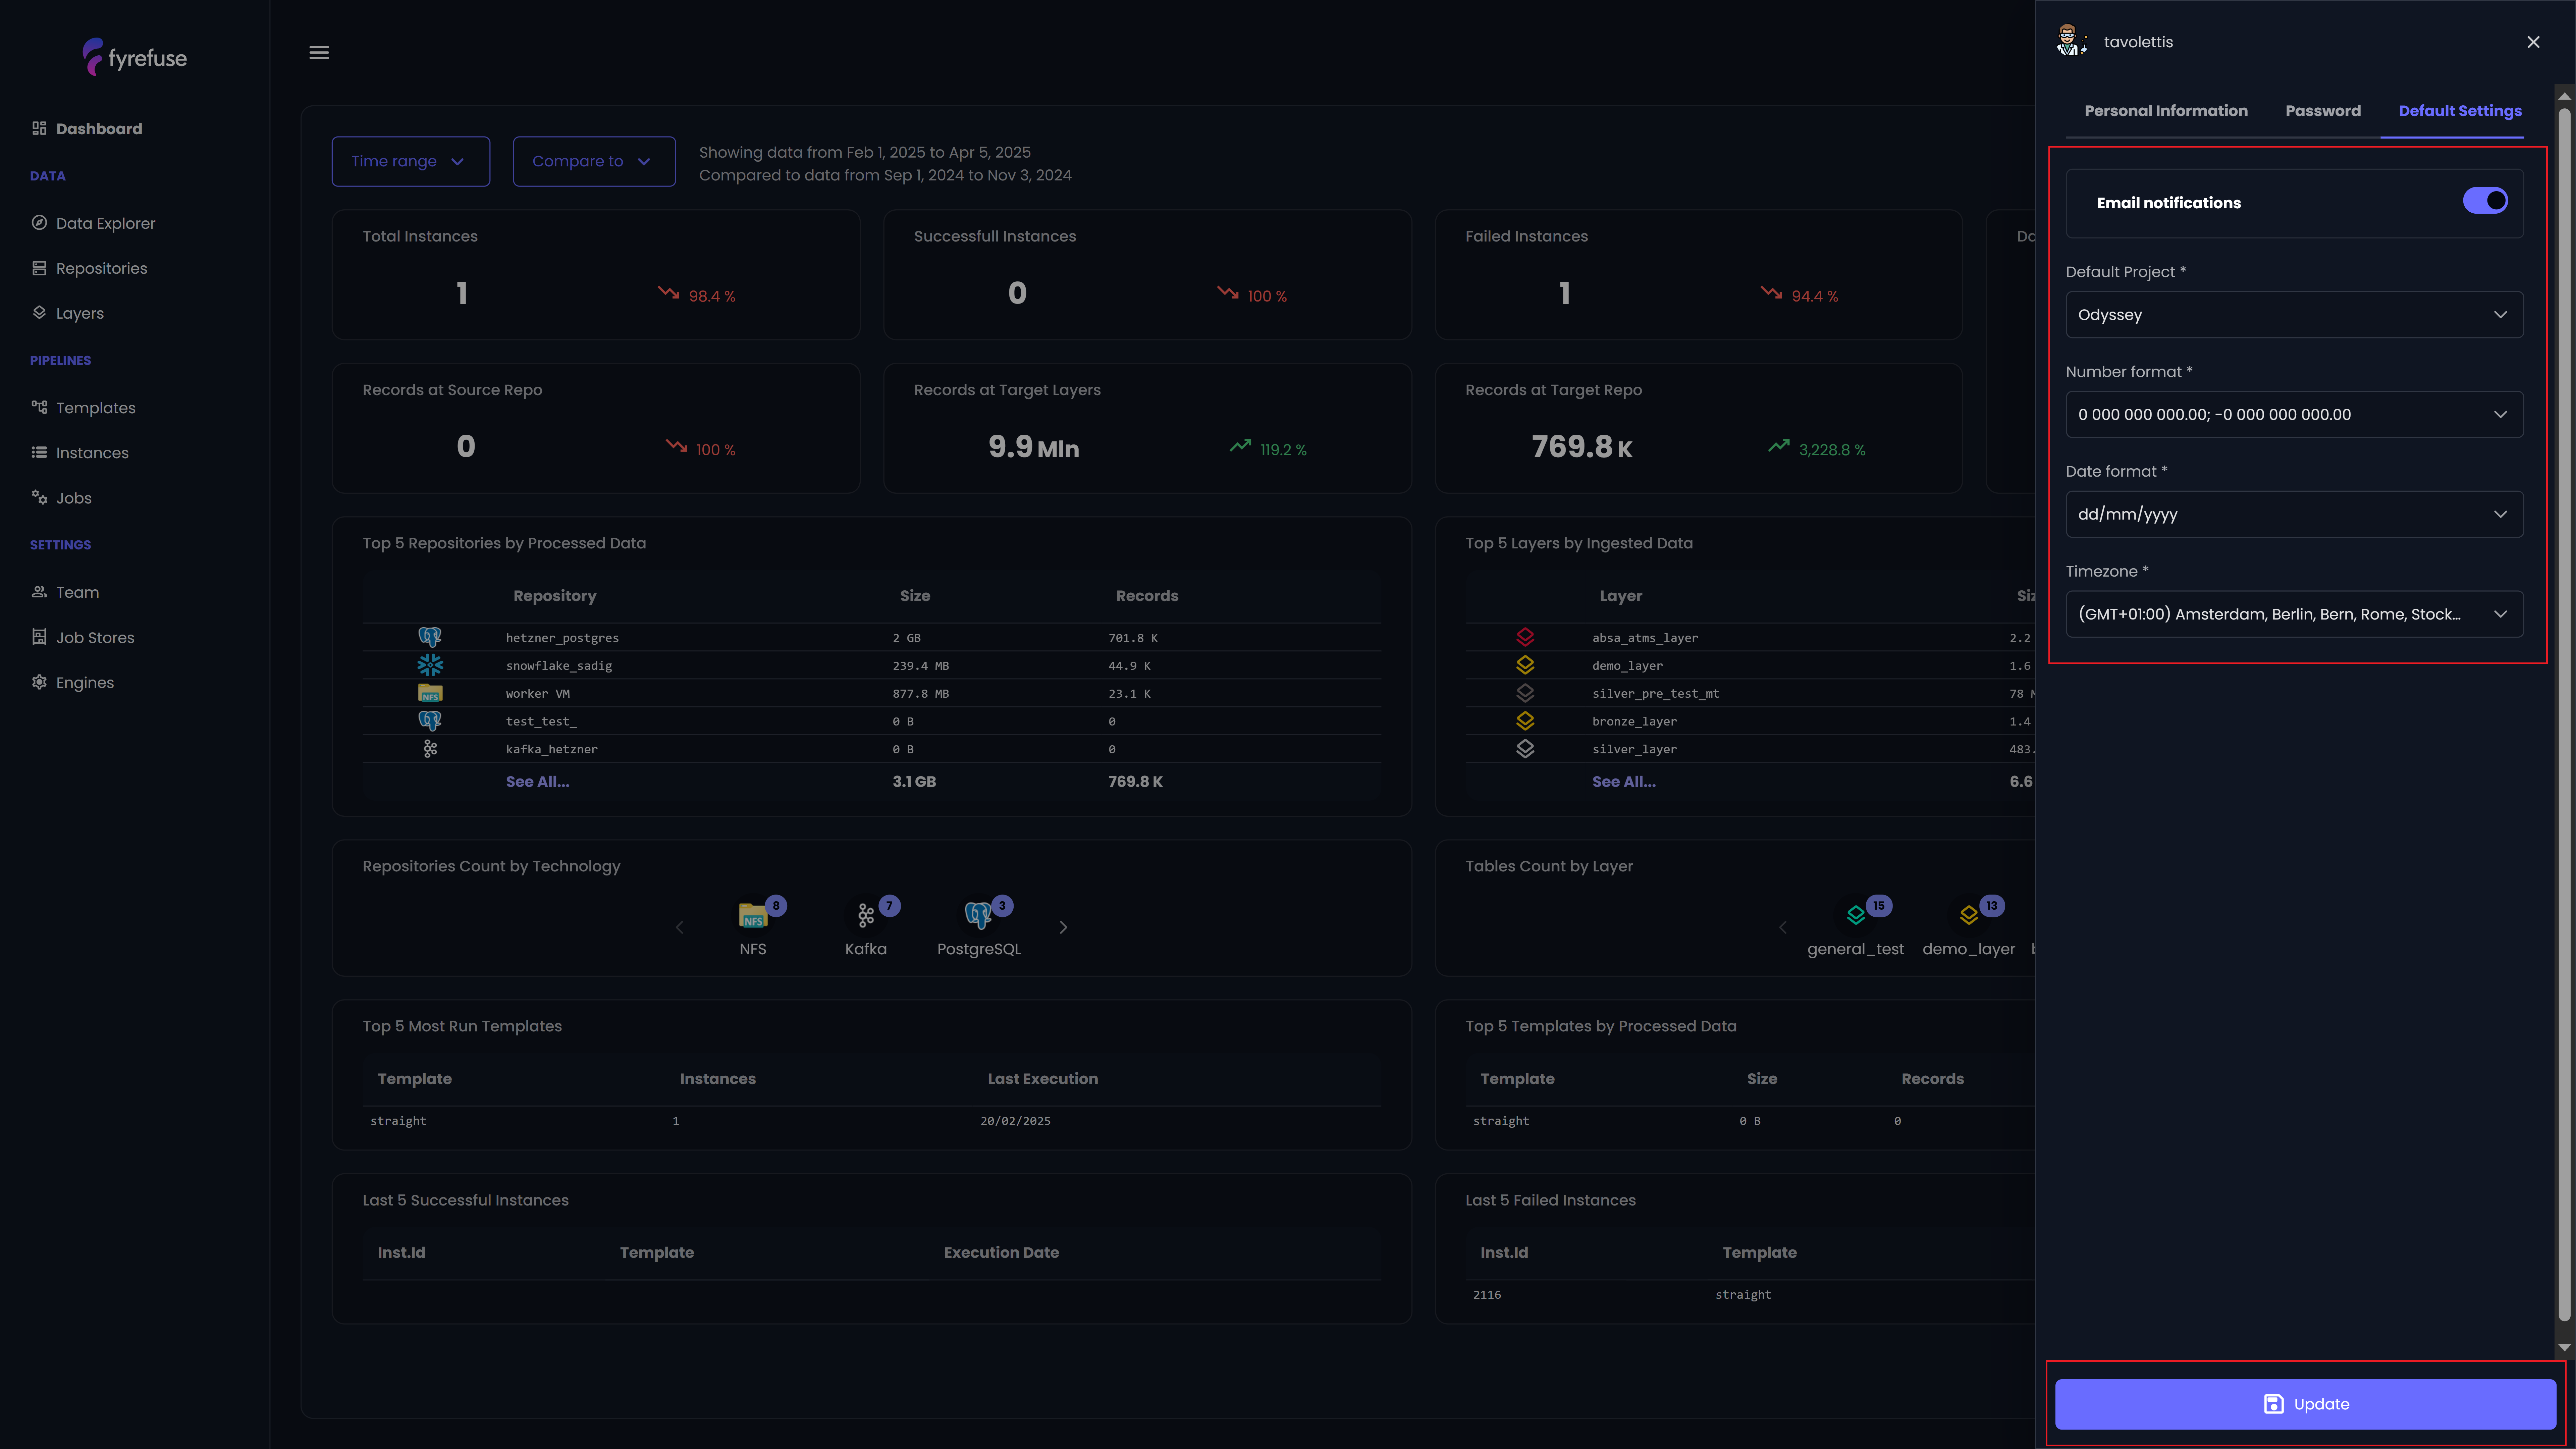
- Email notification: When enabled, you will receive notifications via email about updates, alerts, or relevant activities.
- Default Project: Set a default project that will be automatically selected whenever you access Fyrefuse. This can save time if you frequently work within the same project.
- Number Format: Choose your preferred numeric format. Options allow you to format large numbers with spaces, commas, or periods for better readability and regional consistency.
- Date Format: Select how dates are displayed across the platform.
- Timezone: Set your timezone so timestamps reflect your local time. This will be useful for scheduling, logs, and time-sensitive actions.
Save all changes made by clicking "Update" button to apply any new changes.